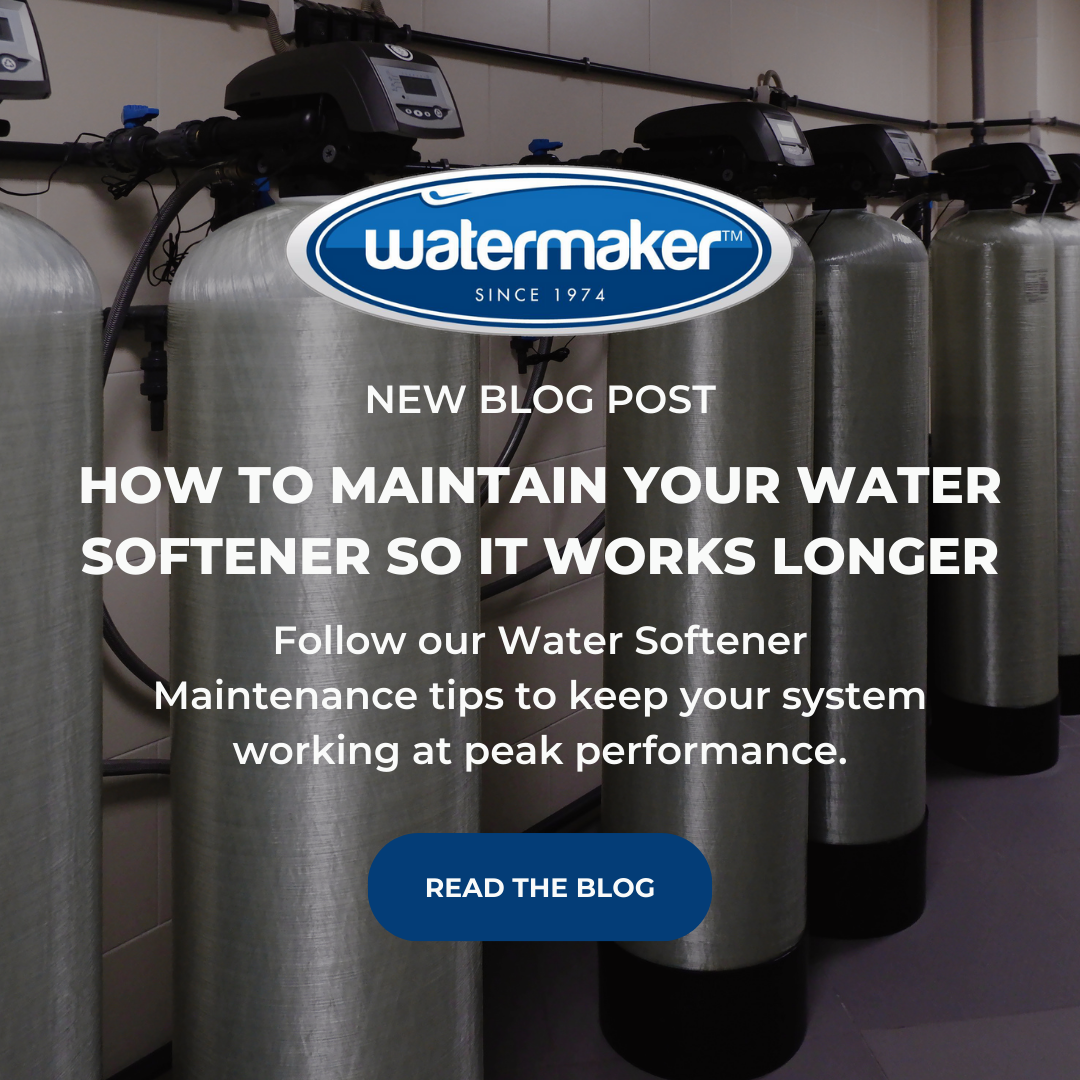
Like any machine, Water Softeners need regular maintenance to keep them clean and working properly. We all know that we need to fill up the Water Softener with salt to help prevent hard water in our home, but there are other steps you should take to make sure your machine keeps working properly.
If you have one but still notice a lot of white limescale build-up on your taps, or your dishes have white spots after going through the dishwasher, or your hair is feeling very dry and dull, these are signs that you may need to perform some basic Water Softener Maintenance so you don’t have to suffer through the effects of hard water in the home.
The good news is Water Softener Maintenance is pretty straightforward, meaning it won’t take much time or hard work to keep your machine running smoothly. Water Softeners are designed to last for decades, so maintaining your water softener is an investment in its lifespan, ensuring your home has clean, soft water at all times.
Water Softener Maintenance Tips
- Maintain the Correct Salt Levels – Because water softeners are typically out of sight and out of mind, it can be easy to forget to check the salt levels. But this is the most basic and important step in ensuring your machine runs properly. Water softeners require salt top-ups, typically every three to four months, depending on the size of your machine. Set a maintenance reminder every few months to top up the salt in the machine and regenerate the system.
- Check for Salt Clumping – If you open your machine and find a big hardened clump of salt, it’s a sign that your salt pellets have formed a solid mass which will prevent your machine from softening the water. Very carefully break up the clump, making sure not to hit or puncture the sides of your machine. Always follow the instructions in your water softener instruction manual for regenerating your softener.
- Avoid Salt Mushing – This is the opposite of salt clumping, meaning instead of the salt becoming a hard mass, it becomes a thick sludge at the bottom of the tank. This is usually caused by using the wrong type of salt. If salt mushing occurs, you’ll need to scoop out all the mush and make sure no valves are blocked. Wipe out the tank before adding a new bag of the correct type of salt.
- Use a Water Softener Cleanser – Some water softeners have a small tank inside where you can put a water softener cleanser, while others you just add directly to the main tank. These cleansers help remove harmful deposits from the resin bed, valve, and system and keep your resin clean so it can do its job properly.
- Protect the Machine – Because water softeners are typically hidden deep in a basement, they can be overlooked. Be careful not to stack things on top of or against the machine, as this can damage the machine’s exterior or cover and control panel.
- Replace Your Resin – Every water softener uses resin to remove the ‘hardness’ of the water. However, resin has a finite lifespan, meaning the resin beads will need to be replaced every ten years or so. If your water softener machine is more than 10 years old, it may be time to replace your resin. It’s a good idea to test the hardness of your water to see if your water softener is still working effectively.
If you have concerns about your water softener, reach out to our team of professionals who can help you diagnose what’s going on with the water in your home or office. Bringing in a water sample is always a good way to really see what’s in your water, and whether or not your water softener is performing properly or not. By taking these steps for Water Softener Maintenance, you can get decades out of your machine.


